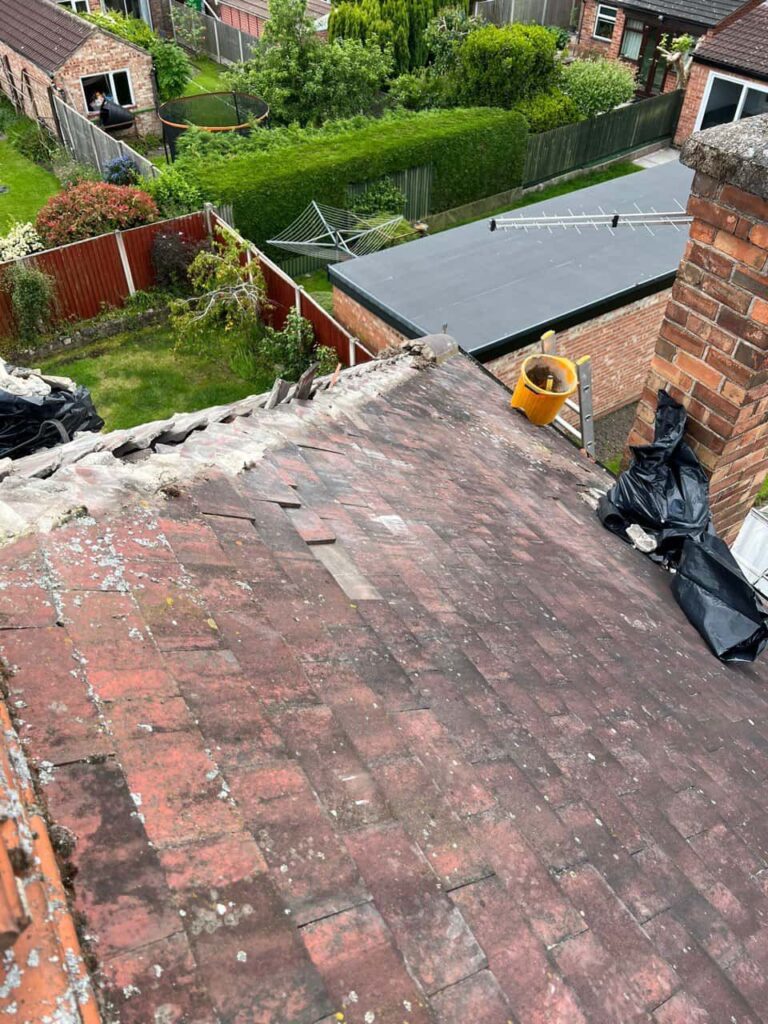
Lead flashing plays a critical role in protecting your roof from water ingress by sealing joints and preventing leaks around chimneys, skylights, and other roof features. However, like all materials exposed to the elements, lead flashing can deteriorate over time. Regularly inspecting your flashing for wear and tear is crucial in preventing costly roof damage and ensuring the longevity of your roof. In this article, we’ll explore how to spot signs of wear on lead flashing before it leads to major issues.
1. Check for Cracking and Brittle Sections
Over time, lead flashing can become brittle due to exposure to UV rays, temperature fluctuations, and harsh weather conditions. This brittleness can cause the flashing to crack or break, which compromises its ability to prevent water from seeping under the roof covering. When inspecting your flashing, look for any visible cracks or splits, especially around seams, corners, or areas where the lead is bent. Cracking may be subtle at first but can quickly worsen if not addressed.
2. Look for Discolouration or Streaks
Another sign of wear and tear on lead flashing is discolouration. Lead tends to develop a greyish patina over time, but if you notice streaks or patches of dark staining on the flashing, this may indicate the beginning of corrosion. Corrosion can eat away at the material, weakening its integrity and effectiveness. It’s important to check for any signs of discolouration regularly, particularly around areas where water might pool or where the flashing comes into contact with other materials.
3. Inspect for Loose or Missing Flashing
The flashing is held in place by nails or adhesive, and over time, these fasteners can loosen due to natural expansion and contraction caused by temperature changes. Loose or missing sections of flashing can expose the underlying roofing materials to water, which can eventually lead to leaks and structural damage. During your inspection, ensure that the flashing is securely fixed in place and that there are no gaps between the flashing and the roof surface. If sections of flashing are missing, they must be replaced promptly to prevent water damage.
4. Examine for Puddles of Water or Dampness
If you notice any pooling of water or damp patches around the flashing area, it’s a strong indicator that the lead flashing may no longer be doing its job. Even small amounts of trapped water can seep into the underlying roofing materials, leading to rot, mould, or structural weakening. Check for any damp spots on the roof, particularly after rainstorms, as this could signal an issue with the flashing that needs addressing.
5. Look for Bulging or Distorted Lead
Over time, lead flashing can become distorted, especially if it’s exposed to intense heat or pressure. If you spot areas where the lead is bulging, raised, or warped, it could indicate that the flashing is no longer lying flat against the roof and is no longer providing an adequate seal. Distorted flashing should be assessed by a professional to determine whether it needs to be repaired or replaced.
Conclusion
Lead flashing is a vital part of your roofing system, but over time, it can suffer from wear and tear. Regular inspections are essential to identify issues before they escalate into costly repairs or leaks. By keeping an eye out for cracks, discolouration, loose sections, water pooling, and distorted flashing, you can catch problems early and extend the lifespan of your roof.
If you notice any of these signs or need professional help with your lead flashing, don’t hesitate to contact Mildenhall Roofing Repairs. Our team of experts can provide thorough inspections, repairs, and replacements to ensure your roof remains in top condition. Protect your home today by addressing any issues with your lead flashing before they lead to more extensive damage.
Call us on: 01638 591 491
Click here to find out more about Mildenhall Roofing Repairs
Click here to complete our contact form and see how we can help with your roofing needs.

